do it yourself: spring sprouts
In welcoming Spring, we’re making Spring Sprouts at home and planting in our yards! This project was offered at the Museum in our Clay Studio, but it’s easy enough to do at home! With only a few materials, you can plant and grow your very own wildflowers.
guidelines + materials
AGE: 5+
TIME FRAME: 30 minutes
SUPPLIES:
- Soil
- Seeds (wildflowers)
- Natural clay or air dry clay
- Pencil or toothpick
- Water
directions
 Step 1: Split your clay into two pieces. Make one big piece for your pot and one smaller piece for your lid.
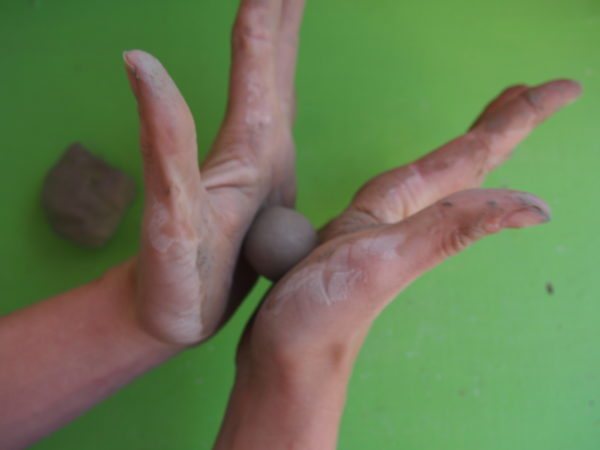
Step 2: Roll the big piece of clay into a sphere. Press your hands together around the clay until it forms into a ball.
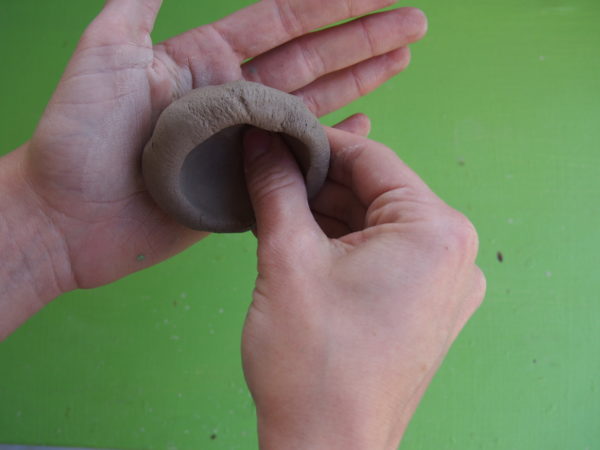
Step 3: Shape the sphere into a pot. Press your thumb deep into the center of the clay to make an indent. Then, pinch your thumb and finger together and slowly turn the sphere. Continue to do this until the sphere has taken the shape of a small pot.
Step 4: Make a lid for your pot. Flatten your small piece of clay. Keep the shape circular so that it lays perfectly on top of your pot.
Step 5: Poke holes into the lid. You can do this with materials found at home, such as a toothpick or the end of a pencil. Poke enough holes to allow sunlight to shine through.
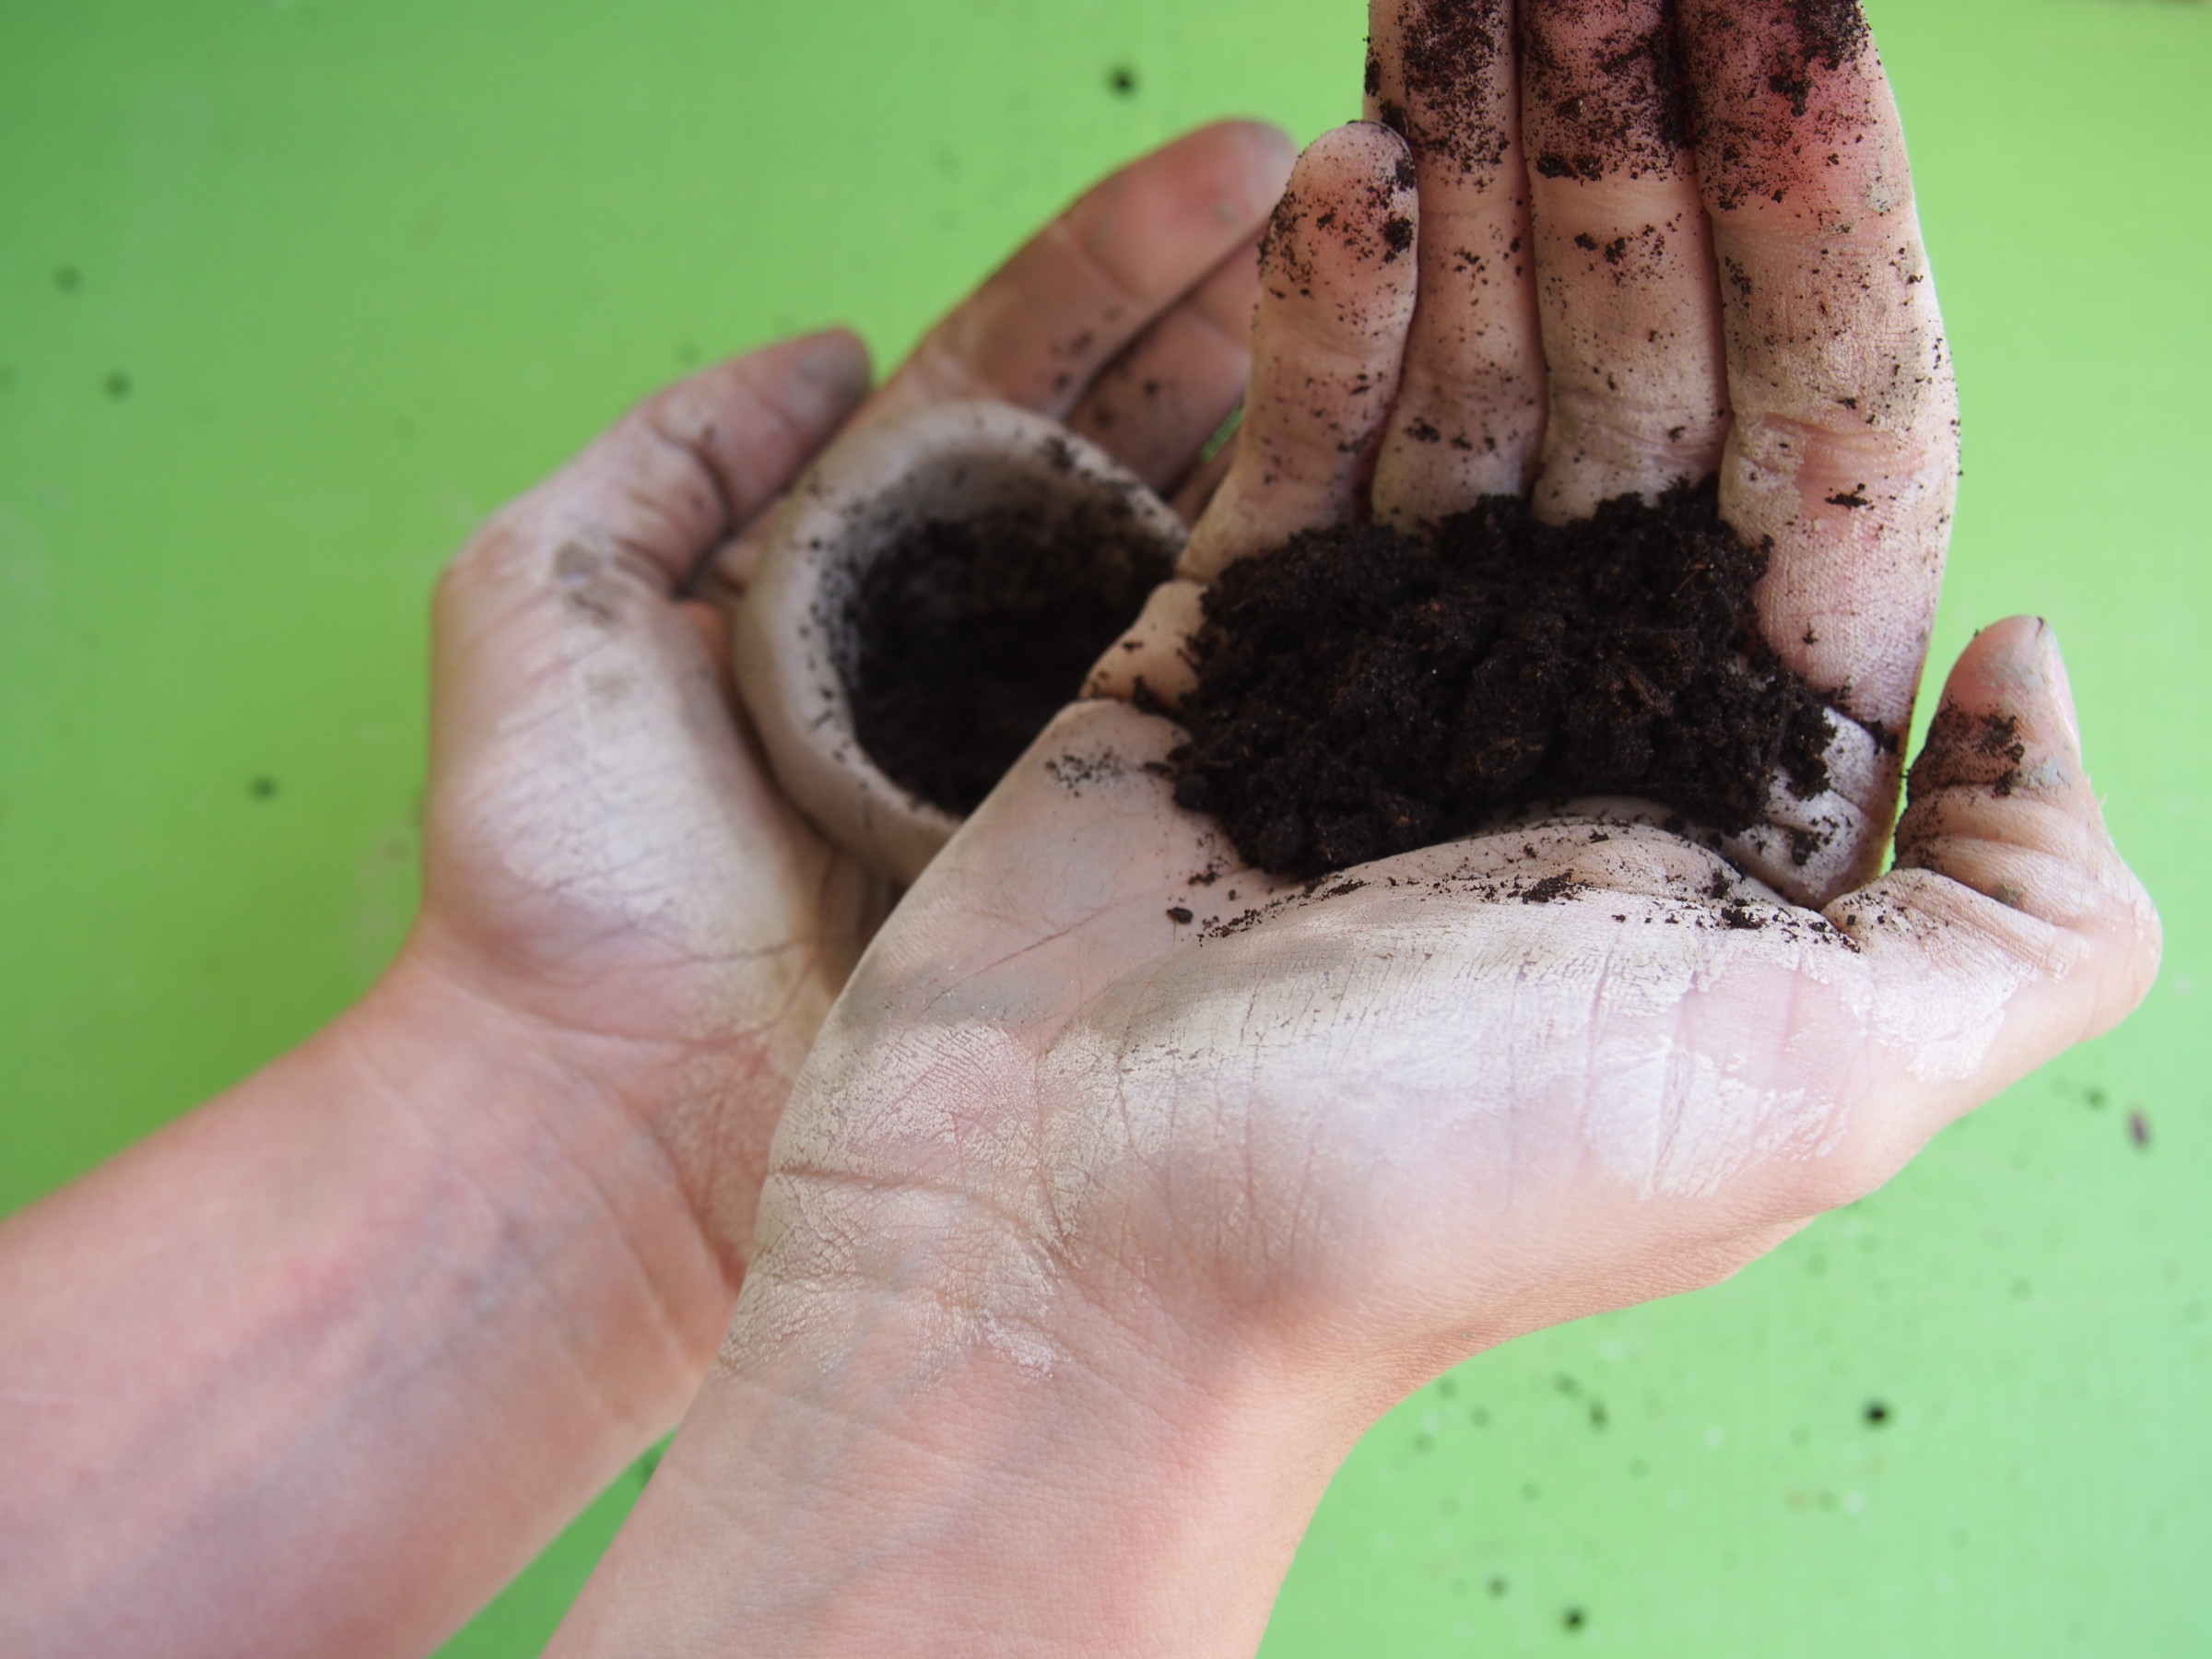
Step 6: Fill your pot with soil and flower seeds. The soil and seeds are put in this clay pot to protect them from being eaten or disturbed by bugs. Don’t forget to put the lid on when you’re done!
Step 7: Bury your creation into the ground and let it sprout! Once you find the perfect spot to bury it, you’ll want to leave a little soil on top.
Step 8: Water your Spring Sprout as needed and watch your wildflowers grow! The clay will dissolve as the Spring Sprout is watered. As time goes on, your wildflowers will start to grow!


