do it yourself: light up cards
This do-it-yourself craft is the perfect greeting to send a friend or loved one! Inspired by a workshop from the Museum’s makerspace, Innovators LAB, learn about circuits and create your very own light-up card at home!
terms
LED: Light Emitting Diode
Coin Cell Battery: A flat battery that is shaped similar to a coin.
Electricity: A form of energy created by electrons. The energy from these negatively charged electrons can either be stored and will become static electricity, or it can flow from one place to another along a conductor and become current electricity.
Circuit: In order for current electricity to take place there has to be a circuit that allows the electrons to travel. The word circuit comes from the Latin word “circuitus”, which means to go around. This is how the electricity travels from the conductors to the electrical components. If any part of this loop is broken it’s referred to as a break (circuit breakers are another name for switches). Another vital part of each circuit is a device that supplies voltage; this is necessary to push the electrons around the circuit.
guidelines + materials
AGE: 6+
TIME FRAME: 45 minutes
SUPPLIES:
- Cardstock (multiple colors, 4.25 inches x 5.5 inches)
- Folded piece of cardstock (1 inch x 2 inches)
- LED Lights (found on Amazon)
- Coin Cell battery
- Copper Tape cut into 2 to 3-inch pieces (found on Amazon)
- Scotch or Painter’s tape
- Scissors
- Pencils
- Markers
directions
You’ll need one piece of cardstock, one LED, one coin cell battery, one folded piece of cardstock and two strips of the copper tape in front of you.
 1. Fold the cardstock in half to create a card.
2. Decorate your card with markers and stamps.
3. Decide where the LED will be placed on the card. Mark the area with a pencil. Press the pencil down firmly to help create a hole in the card. You’ll want to make sure there’s enough space so the coin cell battery can fit.
4. Use the metal sticks on the LED to poke through the marked area of the card. The longer side represents the positive charge (+) and the shorter side represents the negative charge (-). The sticks should be facing inside of the card.
Open the card and place the two metal sticks on opposite sides. Label each side with a + and – sign for an easy reference.
5. Choose where the battery should be placed. The battery will serve as a button to turn the light on. Keep in mind that the battery should be close enough to the LED so there are no interruptions in the circuit. Draw a circle around the battery for reference.
6. Take the folded piece of cardstock, which will serve as a button/switch. Make adjustments if needed as there should be a gap big enough for the coin cell battery to fit. Use scotch tape to attach the piece of cardstock on top of the marked circle.
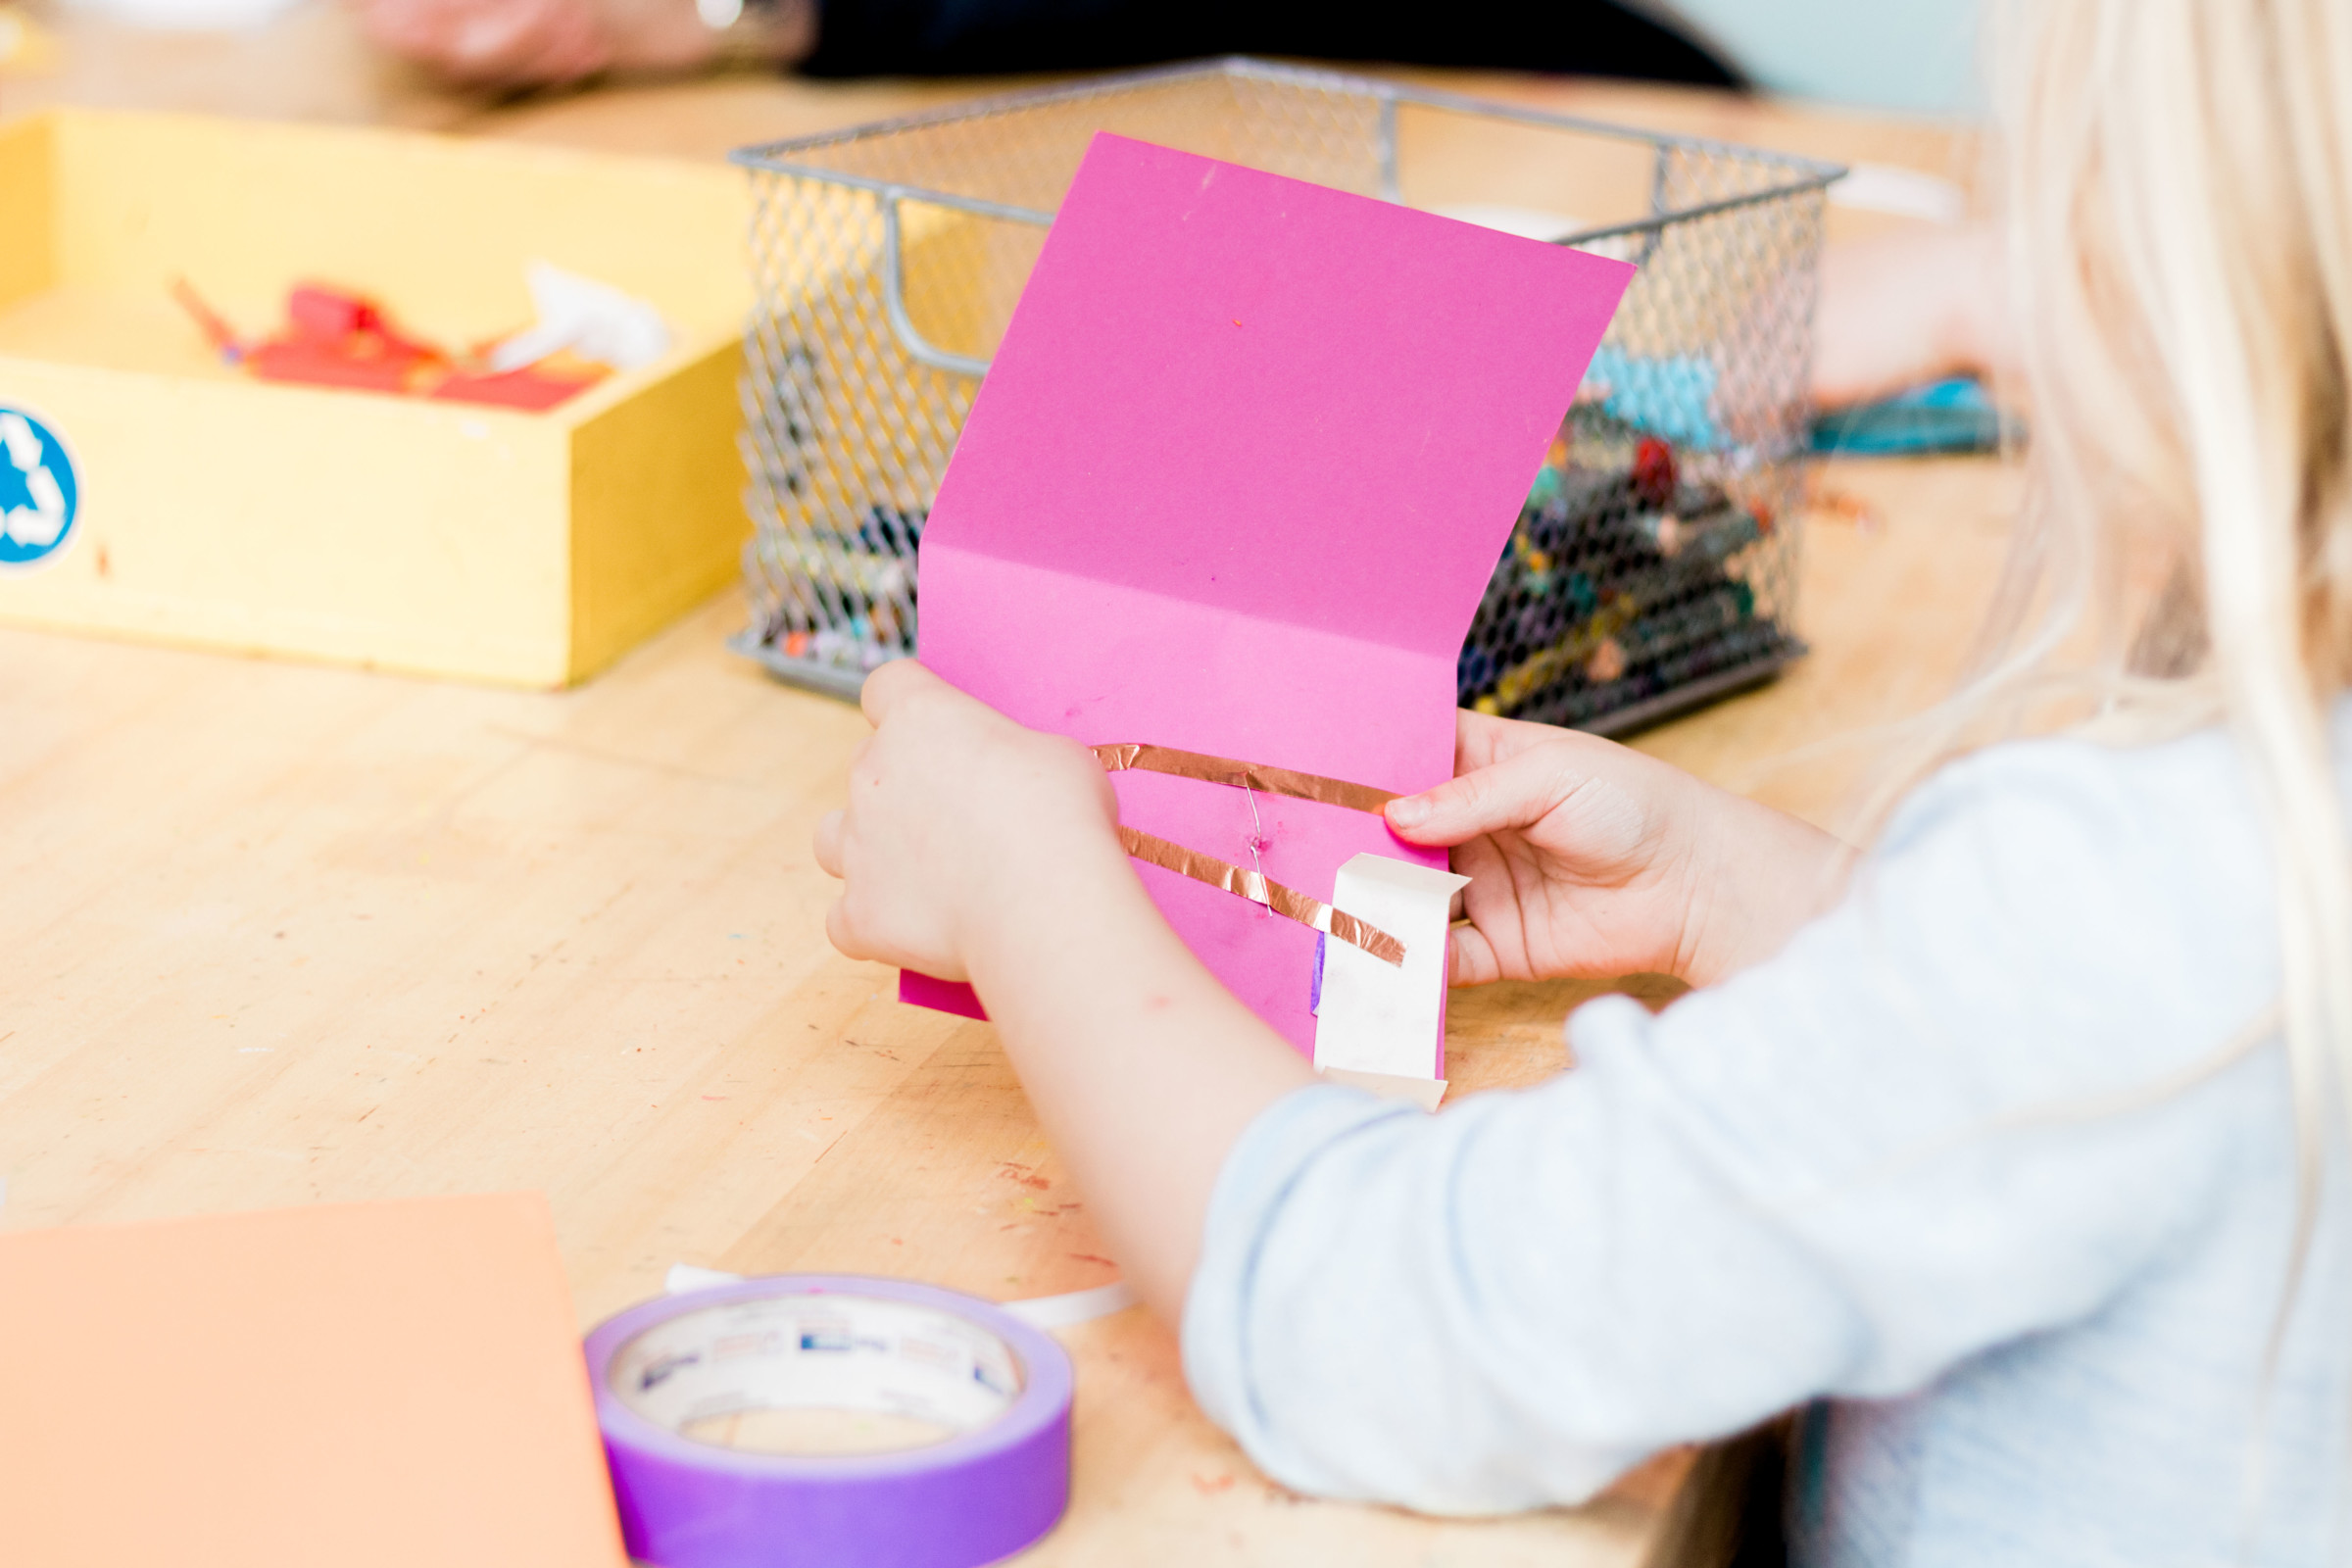 7. Take a piece of copper tape, remove the paper backing carefully, and place the tape under the positive metal stick to the folded piece of cardstock. Make sure the copper tape is attached in the middle of the folded cardstock. The copper tape is conductive which allows the power of the battery to travel to the LED. Think of the copper tape working as an extension cord.
8. Tape the positive metal stick to the copper tape with scotch tape. Then place the coin cell battery on top of the folded cardstock. Make sure the + side of the battery is facing down. Use a piece of the copper tape to attach on top of the battery to the folded piece of cardstock.
9. Take another piece of the copper tape and peel the paper backing off. Attach the tape under the negative metal stick. Make sure the tape touches the copper tape on top of the battery. It is important that the two copper tape pieces are attached to each other for the circuit to work.
10. Attach the negative metal stick with scotch tape. Make sure both the positive and negative metal sticks are touching the copper tape.
11. Press the battery to see your card illuminate!


