do it yourself: boo-yah bottle caps
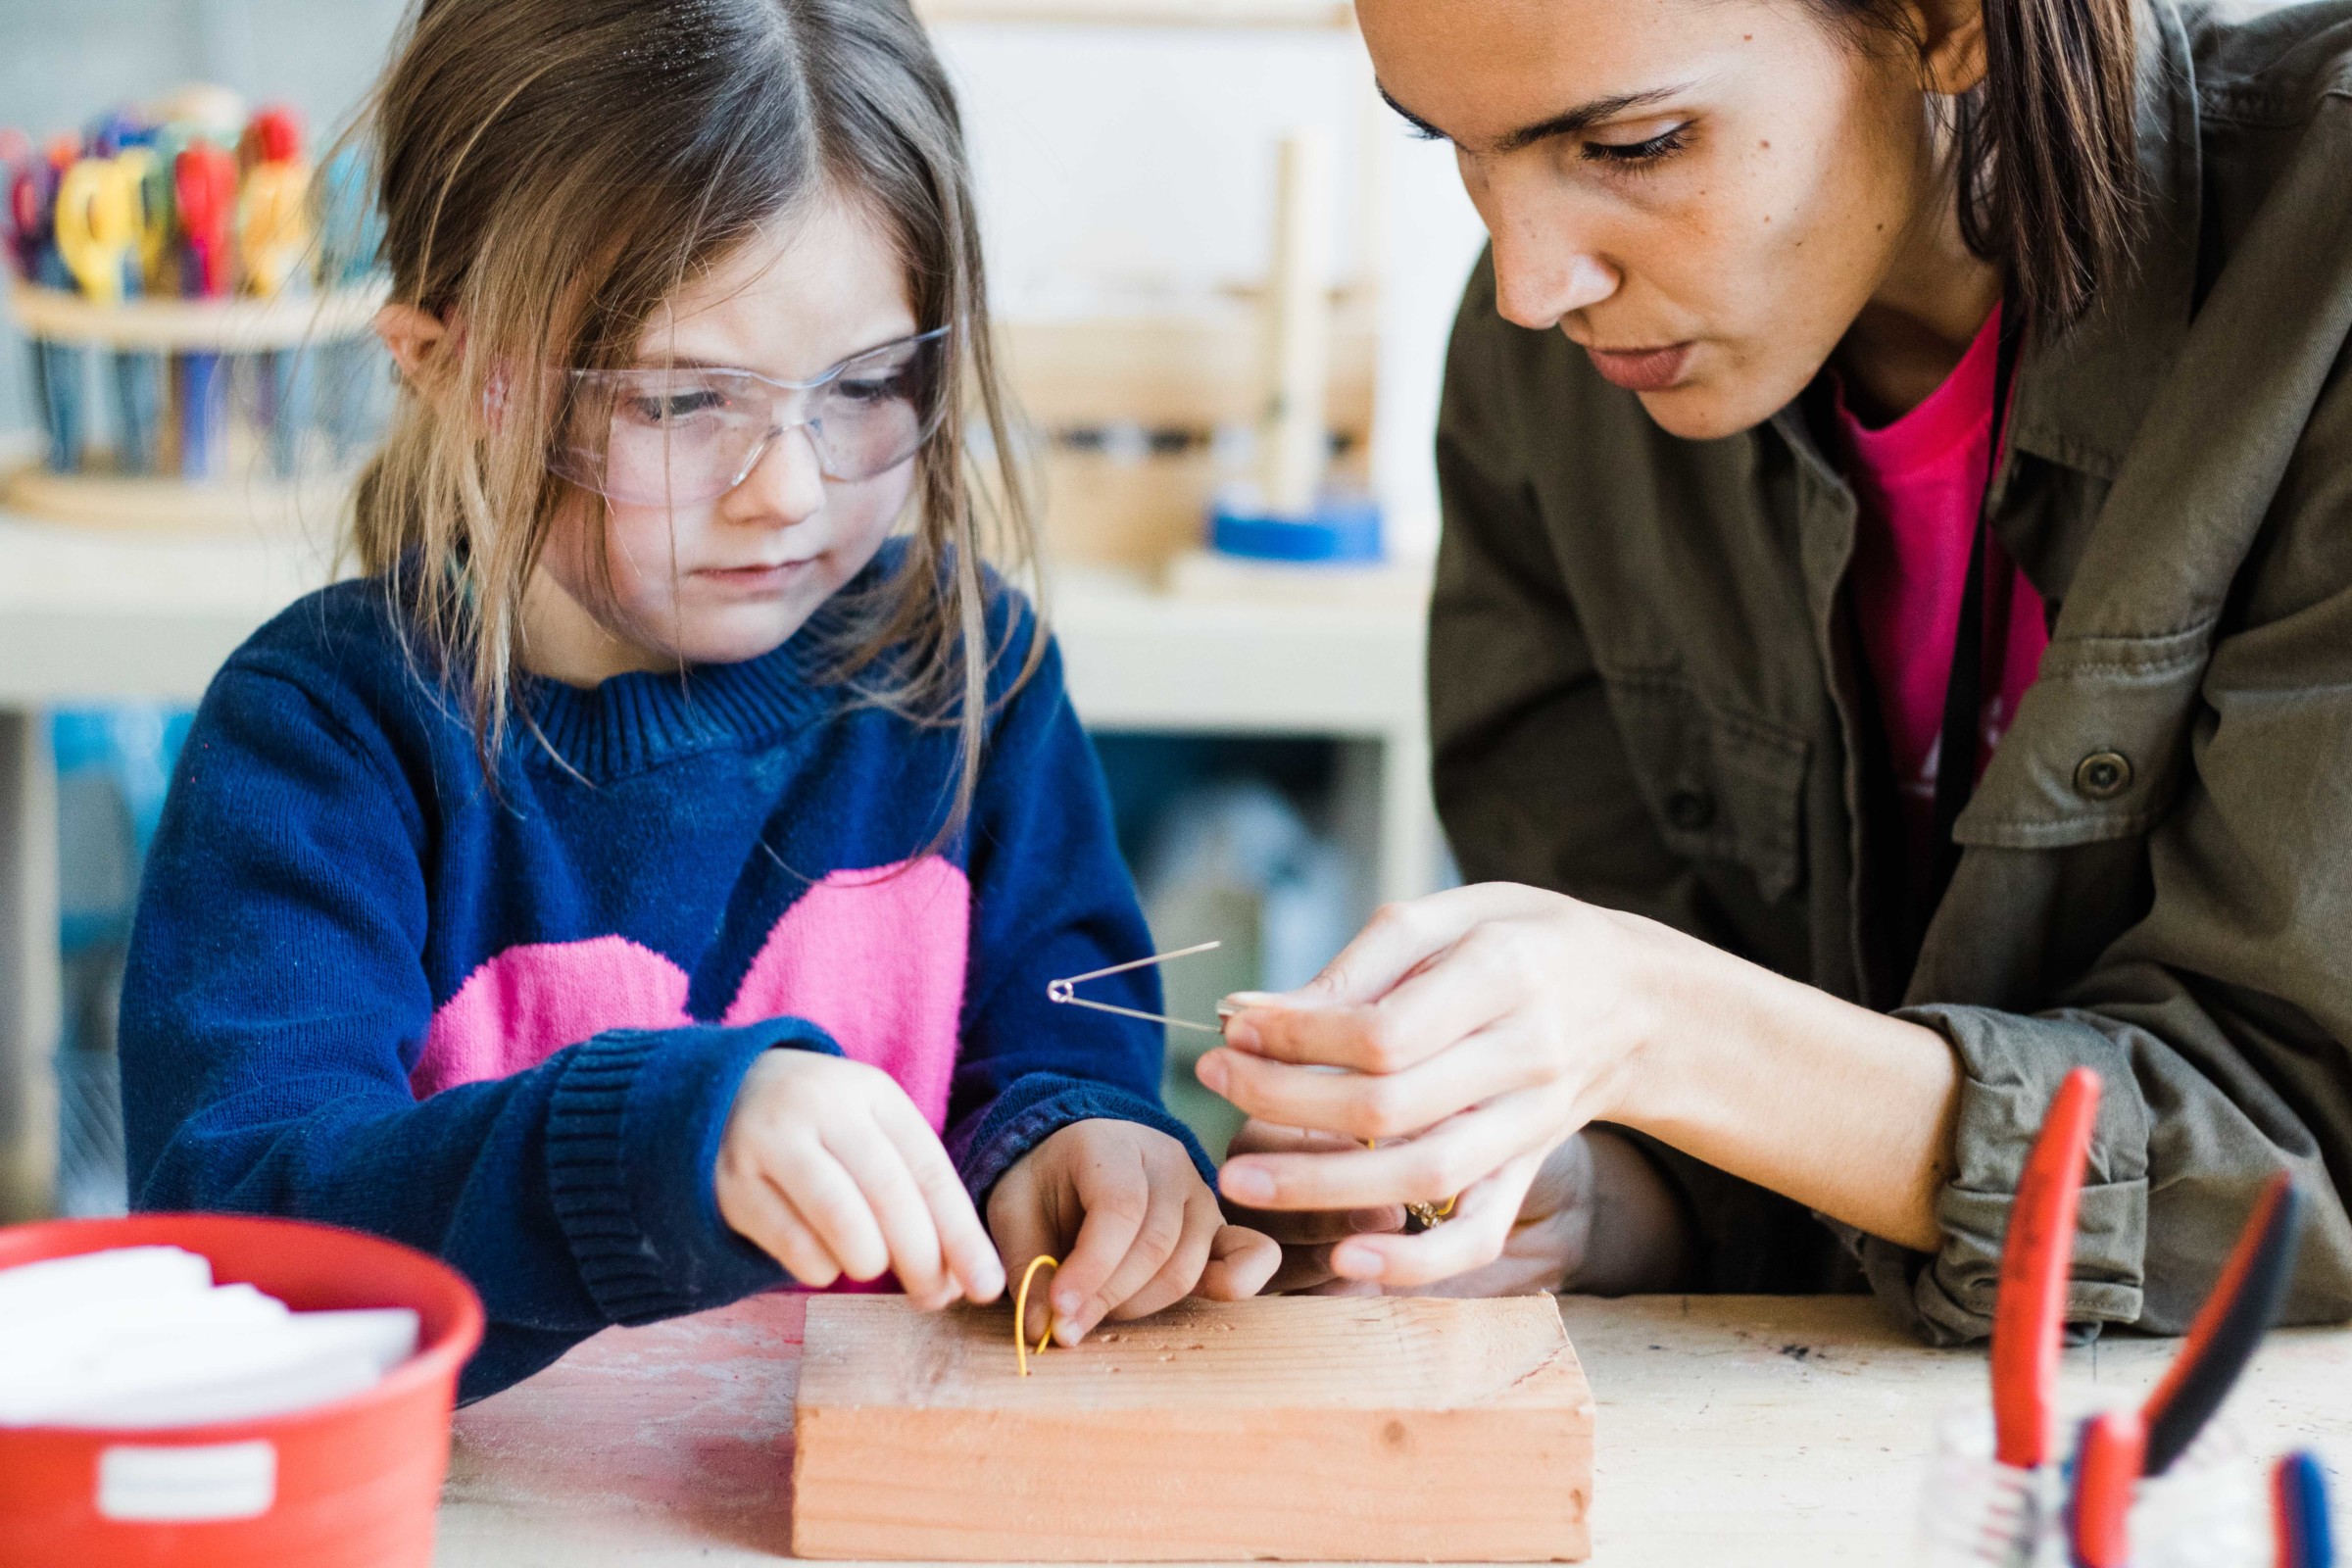
Make and design your own button using bottle caps! We’re sharing a DIY version of our Boo-Yah Bottle Caps project that was part of a Comunidad workshop with our community partner Casa Familiar in San Ysidro and South Bay Community Services in Chula Vista. For this project, families learned how to marble paper and hammer bottle caps, as well as use collage techniques to create their very own art bottle cap pin. These pins can be a visual representation of you and your interests. Now you can try making one at home using the same techniques!
guidelines + materials
AGE: 6+
TIME FRAME: 30 minutes
SUPPLIES:
- Bottle caps
- Safety pins
- 2-inch piece of wire (pipe cleaners or twisty ties would work)
- Hammer
- Nails
- Paper
- Shaving cream
- Food coloring
- Ruler
- Scissors
- Mod Podge or glue
- Decoration Materials (stamps, cut-out letters, pressed flowers, nail polish, drawing utensils)
directions
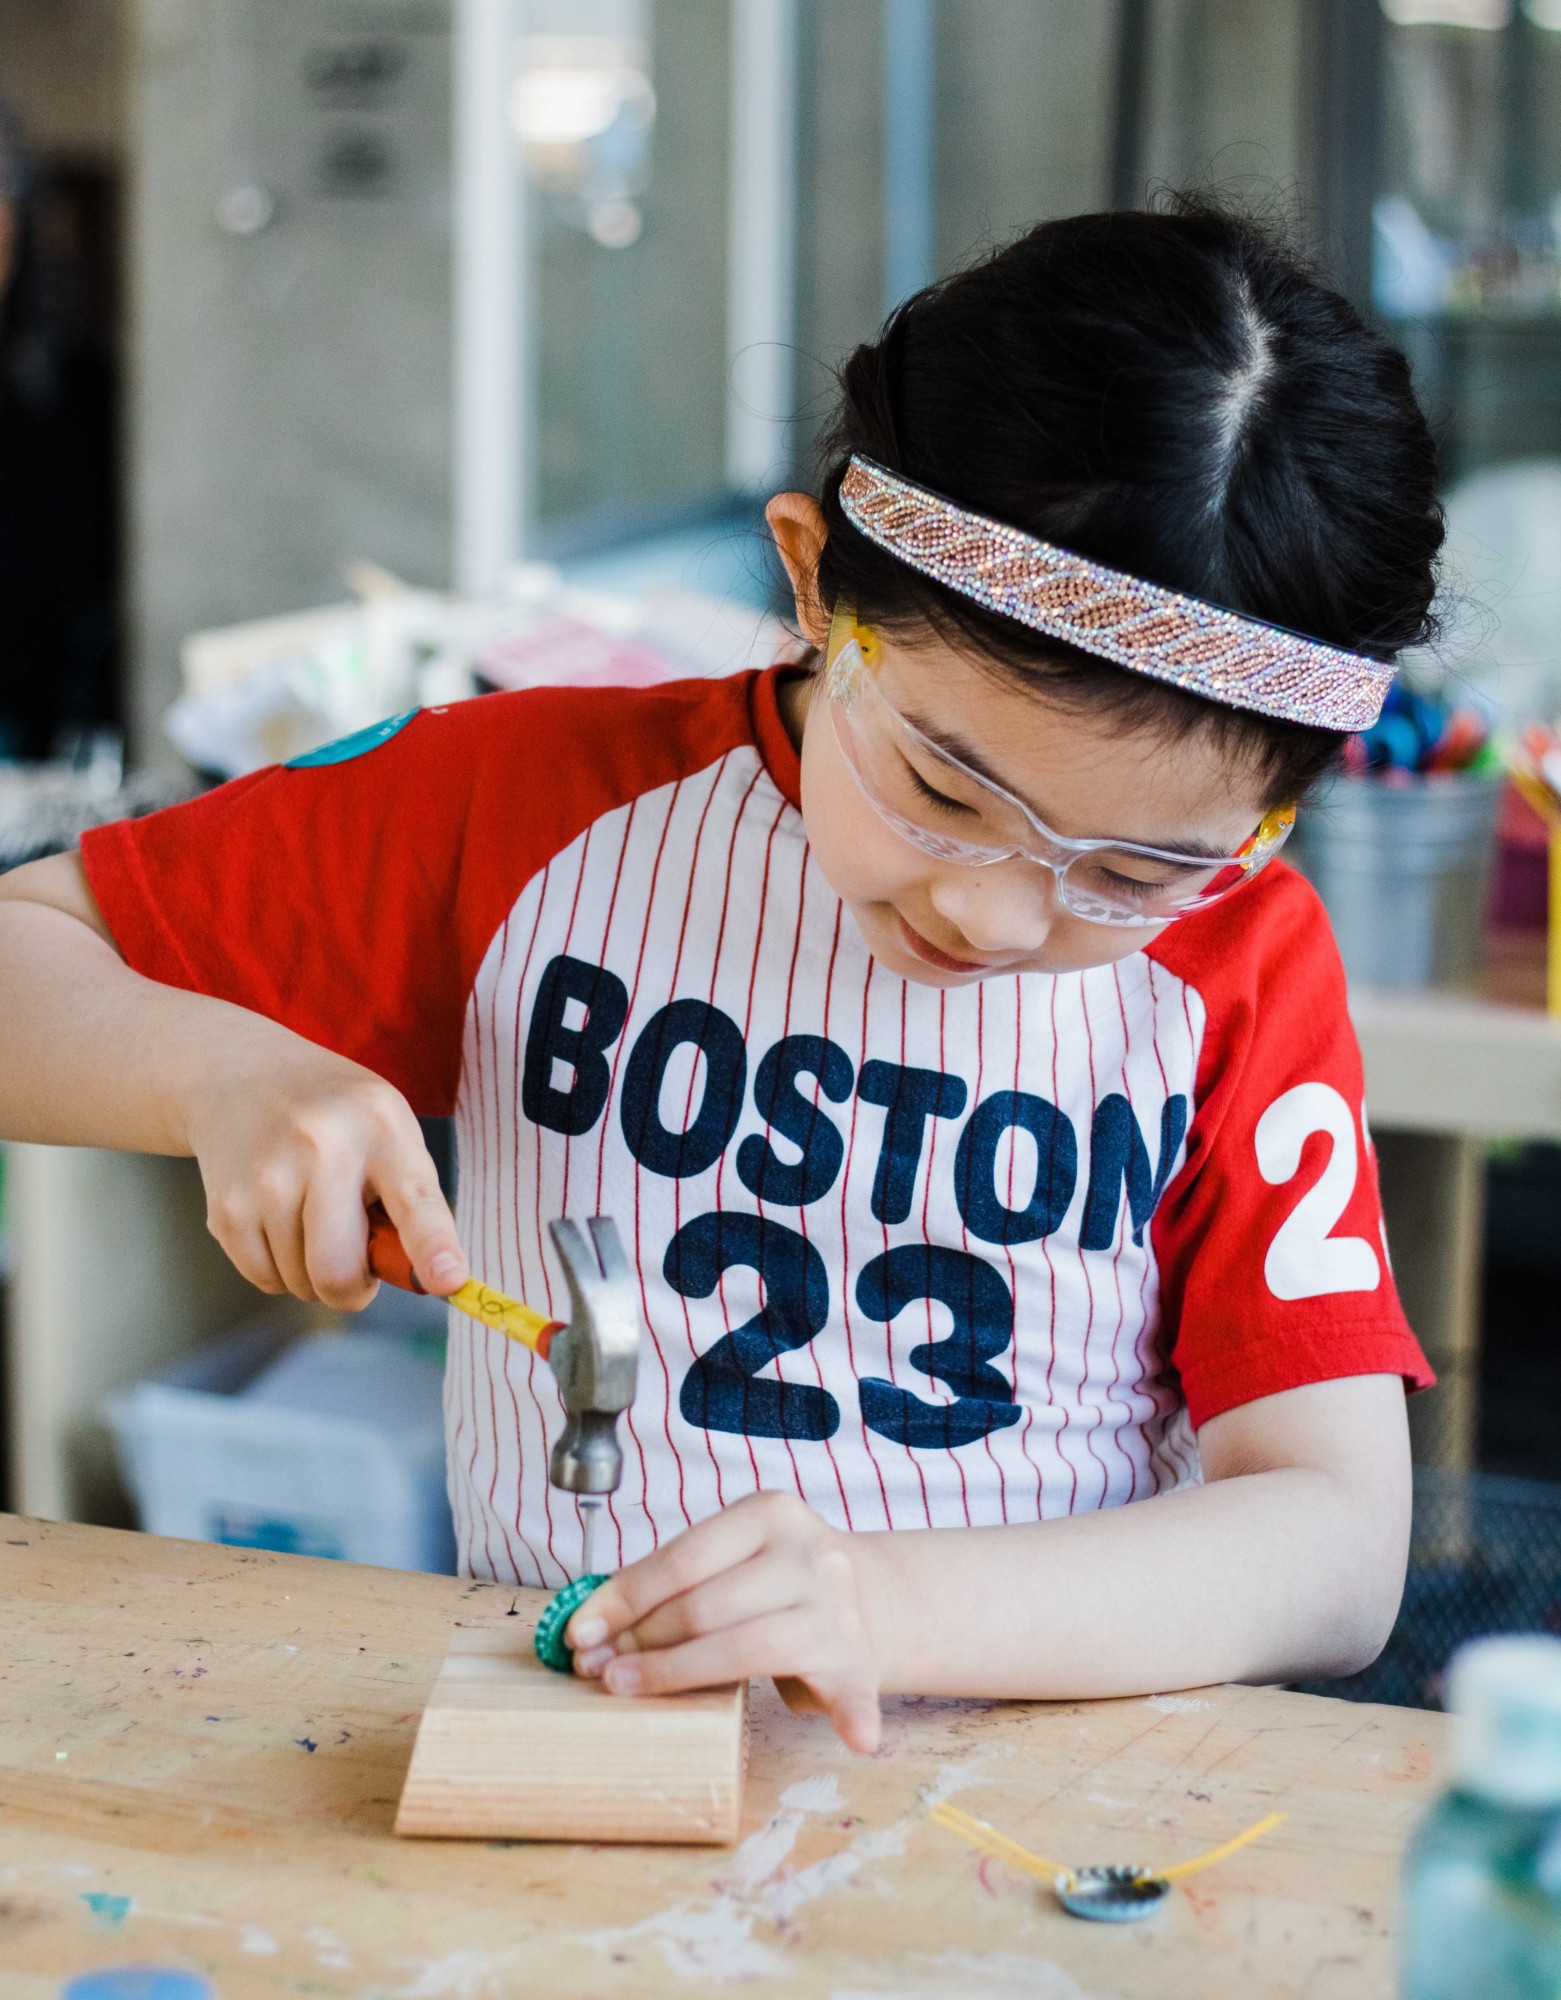 Step 1: Gather your bottle cap, safety pin, wire, hammer and nails. Using the hammer and nail, punch two holes in the bottle cap about a finger width apart.
Step 2: Thread the piece of wire. Once you have made two holes, thread your piece of wire through both holes and wrap the two ends securely around one rod of the safety pin.
Step 3: Decorate your bottle cap button using a variety of methods:
Method 1 – Marbling: Combine shaving cream with food coloring to create a marbled texture on a piece of paper. You can cut the piece of paper into a small circle or any shape to make a sticker to glue onto your pin.
Method 2 – Collage: Assemble cut out images or words onto buttons by using Mod Podge, paper cutters, cut-outs of words, stamps, pressed flowers and drawing utensils to collage onto buttons. You can also use the marbled paper here.
 Method 3 – Painting: Use nail polish to add some color to your pin. The paint dries fast and the small brush allows you to make details on your small pin.
Step 4: Varnish buttons with glossy Mod Podge. This will add a clear coat over your decorations on your bottle cap after decorating.
Step 5: Attach the safety pin! Add your one-of-a-kind pin to a jacket, backpack or anything that needs a little personality!
 This project was developed by our community engagement team and is made possible by the Institute of Museum and Library Services grant as part of our two-year Comunidad outreach program that deepens and extends existing relationships with local community partners through various art-based workshops.
