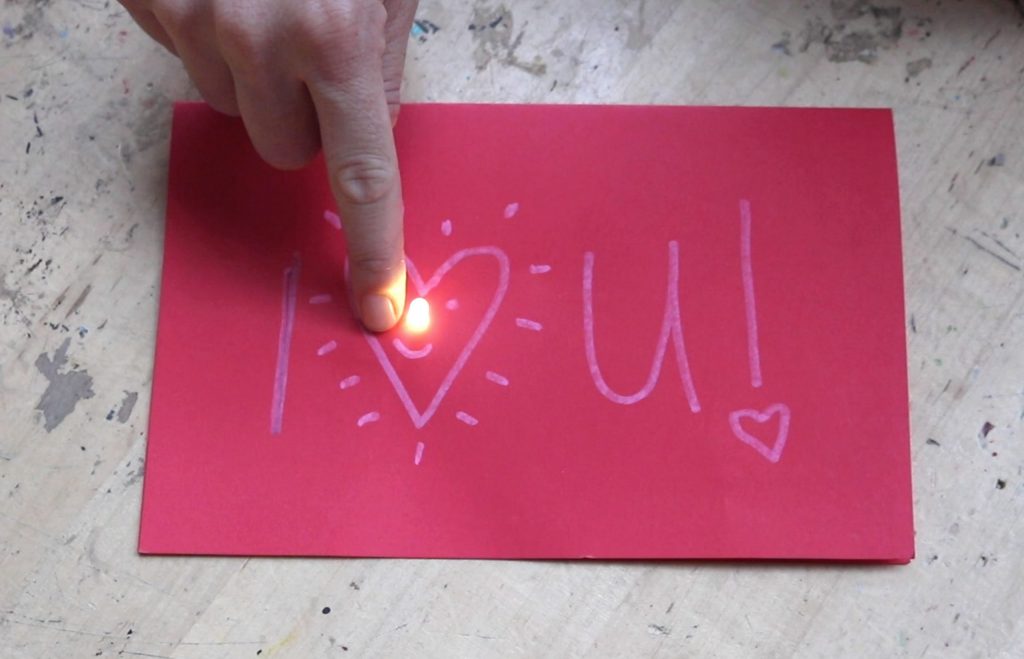
do it yourself: light up valentine's day card
Light up a loved one’s Valentine’s Day by making them a personalized card! Learn how to create a card that can illuminate! This project is inspired from a workshop in our makerspace, the Innovators LAB.
guidelines + materials
AGE: 6+ years old
TIME FRAME: 30 minutes
SUPPLIES:
- 8.5″ x 11″ Cardstock Paper
- 1 Coin Cell Battery
- 1 LED Light
- Masking Tape
- Markers
- Colored Pencils
- Crayons
directions
 1. Fold cardstock in half—hamburger style (horizontally).
2. Design the front of the card with colored pencils, crayons or markers. Keep in mind where you would like your LED light to be placed. Mark where you want the LED light (optional).
3. Add the LED light by carefully poking though the cardstock with the two metal sticks of the LED light.
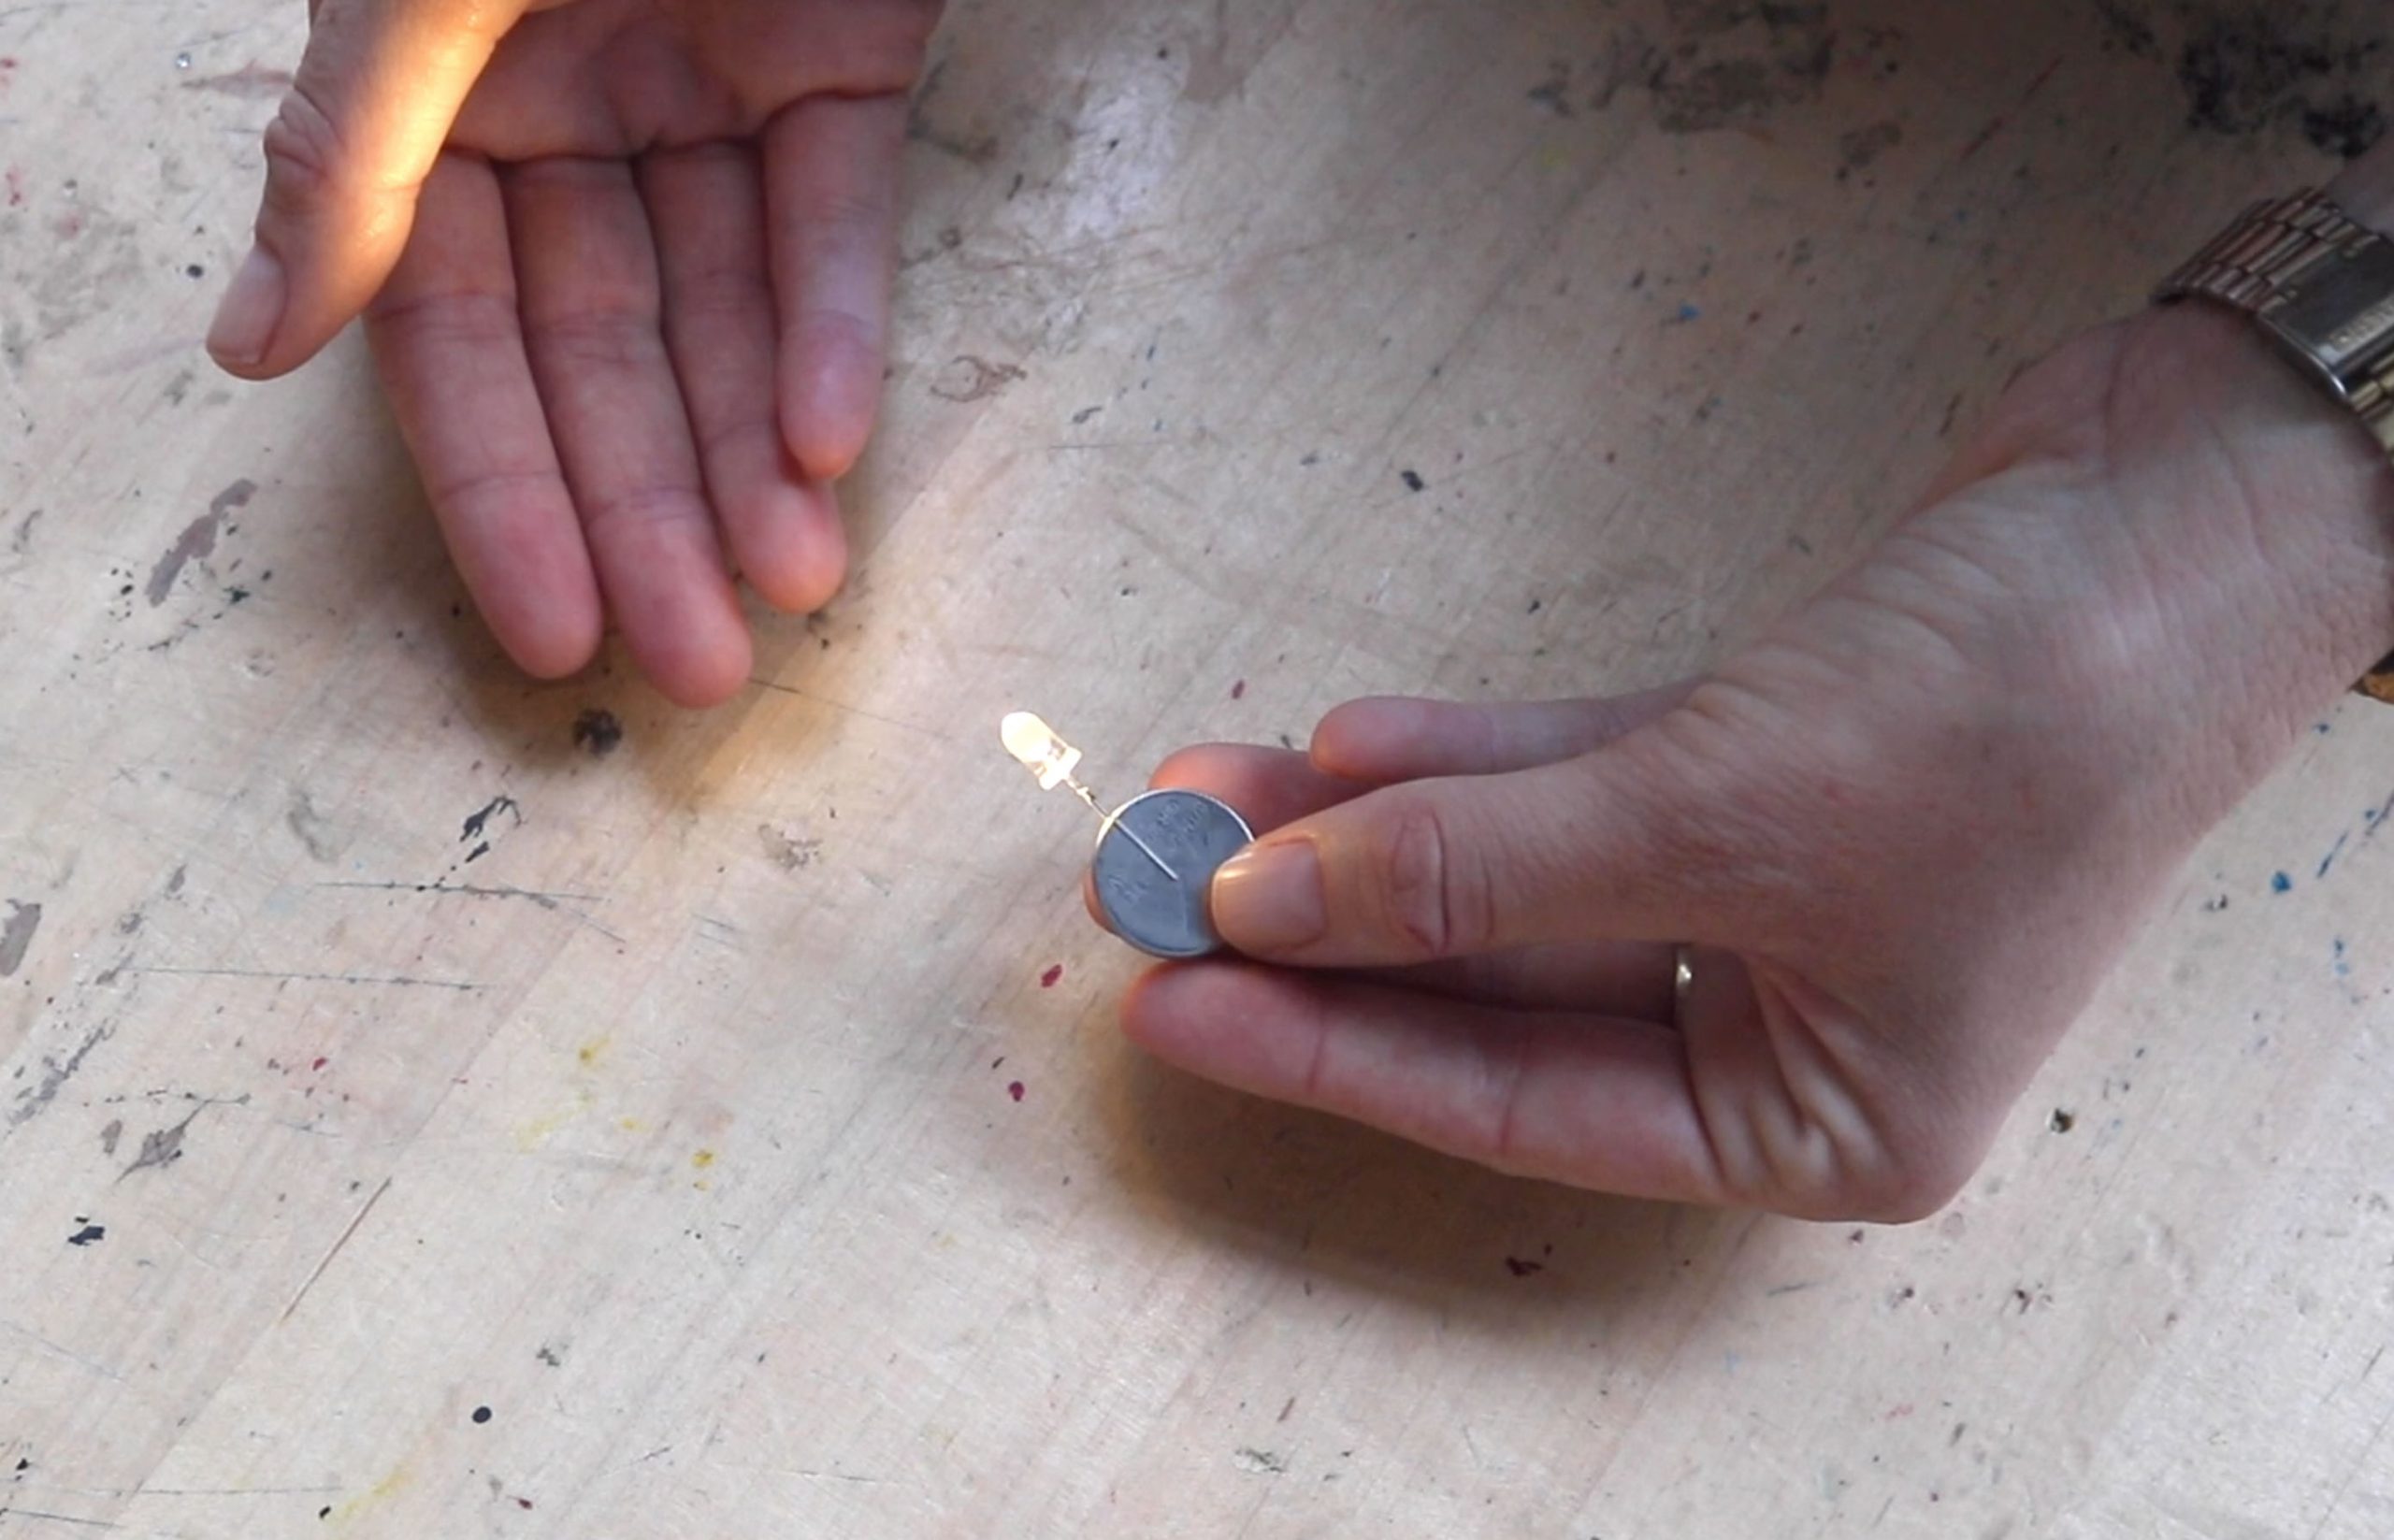 4. Open the card, the two metal sticks each represent a positive (+) and negative (-) charge. The longer stick has the positive charge and the shorter stick has the negative charge.
5. Bend the longer metal stick flat towards the cardstock.
6. Place the coin cell battery on top of the longer metal stick. The side with the + sign should be facing down touching the metal stick.
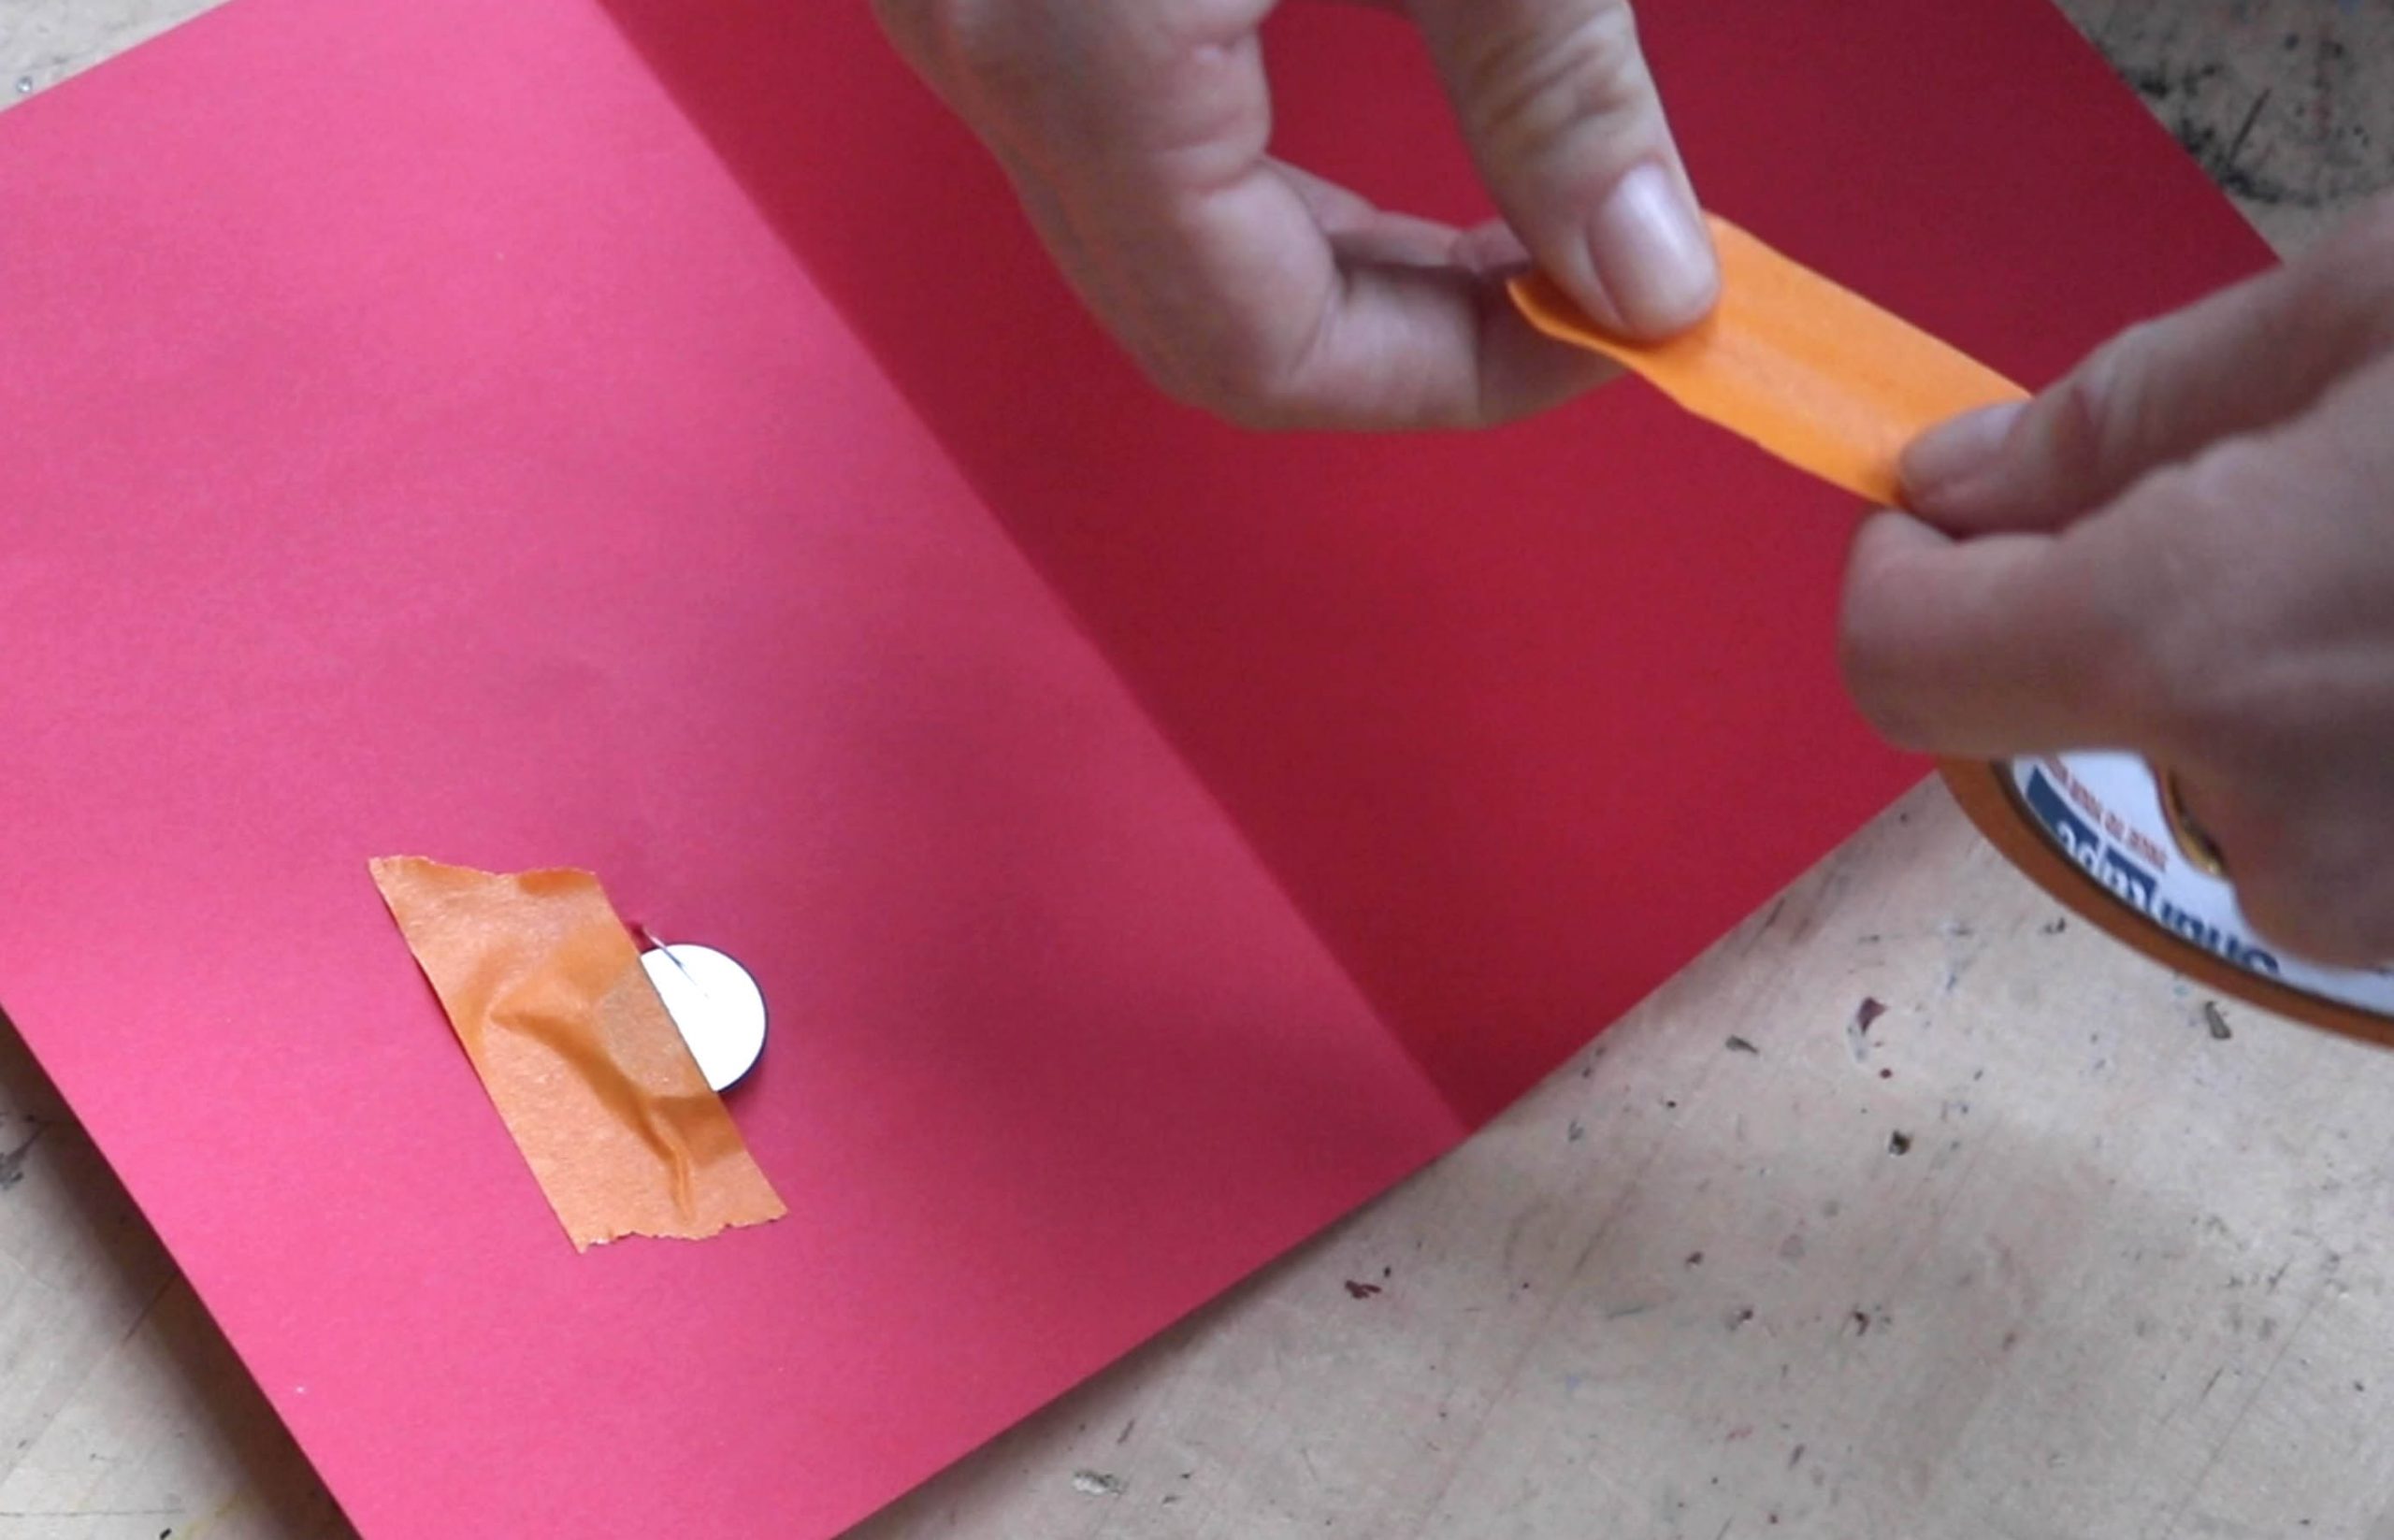 7. Add a piece of masking tape on top of the battery and add more tape if necessary to make sure the battery is secure. Do not fully cover the battery with tape, so the shorter metal stick can touch the negative side of the battery. Keep coin cell battery and LED light out of reach of little ones.
8. Bend the shorter metal stick on top of the battery. The stick should be floating right above the battery—this will keep your light from staying on.
9. Close the card and test to see if the light turns on by pressing where the battery is located.
10. Write a message inside the card. Share with your Valentine!
