do it yourself: Cardboard Mechanics
Design and construct a rubber-band powered car using cardboard and other recycled materials in this STEAM-inspired DIY project! Through this project, kids will learn about how cars are powered and think about the future of clean energy transportation. This project is part of San Diego Gas & Electric’s residency in The Rosso Family Foundation Innovators LAB and part of our STEAM Weekend workshops (available March 5 + 6, 2022 in the Museum’s Innovators LAB).
Cardboard Mechanics Tutorial
AGE: 6+ (with adult support)
TIMEFRAME: 30 min
SUPPLIES:
- Paper towel roll
- Cardboard
- Markers, crayons or colored pencils
- Construction paper
- Skewer or chopstick
- Hot glue gun
- Rubber band or thin hair tie
- Pony bead or small rock
- Paper straw
- Plastic bottle cap
- Ruler
Directions
1. Create the Body: Take the paper towel roll and carefully cut from top to bottom on both sides to create a half pipe. This will be the body of your car.
2. Cut the Straw Pieces: Using scissors, cut a piece of the straw that’s slightly wider than your paper towel roll (roughly 3 inches). Cut another piece the same length. Then take one of the pieces and use a ruler to measure out and mark with a pencil three 1-inch sections that you will cut. You should now have three smaller parts of the straw.
3. Attach the Axles: Hot glue the two smaller 1-inch straw pieces and the one longer 3-inch straw piece to the bottom of the body of the car. Distance the placement of the straws wide enough apart to fit the wheels. They will support the skewer added in step 5 and act as the car’s axles, a rod that rotates the wheels and supports the car’s weight.
4. Cut Out the Wheels: Using a plastic bottle cap, draw four equal-sized circles on cardboard and cut out each circle. These circles are your car’s wheels. Then take each wheel and poke a hole through the center.
5. Cut + Attach Skewers: Cut the skewer into two equal-sized parts that are slightly longer than the straws (or axles) already attached to the car’s body. Take each skewer part and slide it through the straw pieces, one for the front and one for the back. Then take each of the four wheels and place one wheel at the end of each skewer through the pre-poked holes.
Tip: Hot glue the ends of the skewer to be sure the wheels do not fall off.
6. Attach the Motor: With the car flipped upside down, hot glue either a small rock or a pony bead directly in the middle of the front axle (between the two smaller straw pieces) and let it dry. On the rear axle, attach a hair tie or rubber band using a cow loop knot.
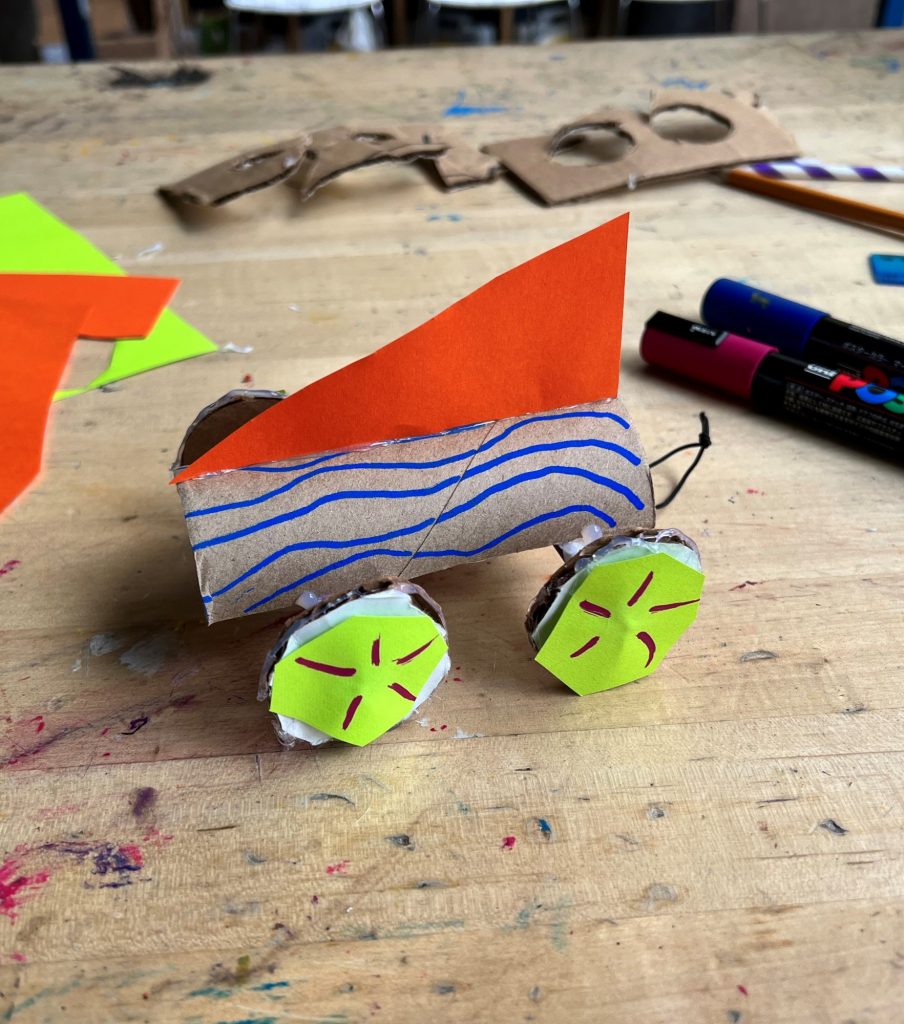
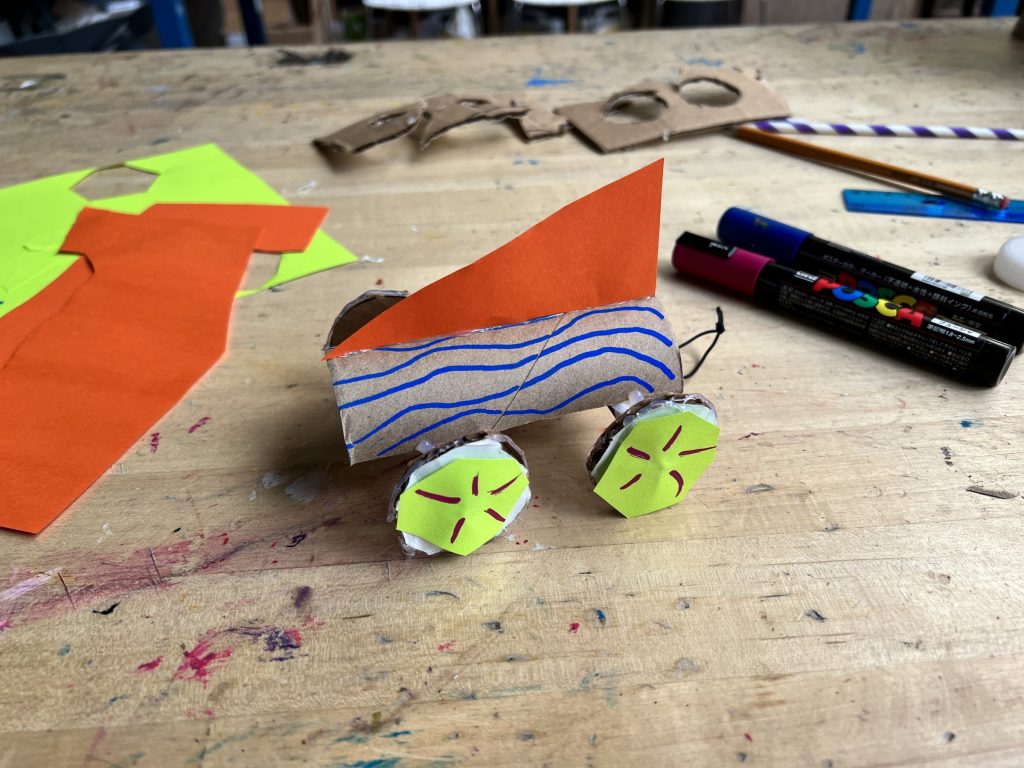
7. Decorate Your Car: Use markers, colored pencils and crayons to decorate your car’s body. Try adding pieces of construction paper to make your car more aerodynamic!
8. Make Your Car Move: You are now ready to ride! Take one end of the hair tie or rubber band and loop it over the small rock or pony bead on the front axle and start to rotate the front axle counter clockwise. Keeping the tension, place your car on the floor or table top and watch it go! The more tension you create the farther your cardboard car will travel, but be careful not to snap your hair tie or rubber band.
Tip: Add a little hot glue to the ends of each tire to create more traction.
This project is inspired by our STEAM Weekend workshop supported by